I cut a bunch of slats from glossy photo print paper.
Drilled holes in the stack for blind lifting cords.

Drilled more holes.

After drilling, slats placed one at a time glossy side down into a curved recess in a piece of wood. Once centered, I rolled/pressed them into the recess leaving nicely curved slats which are stiffer.


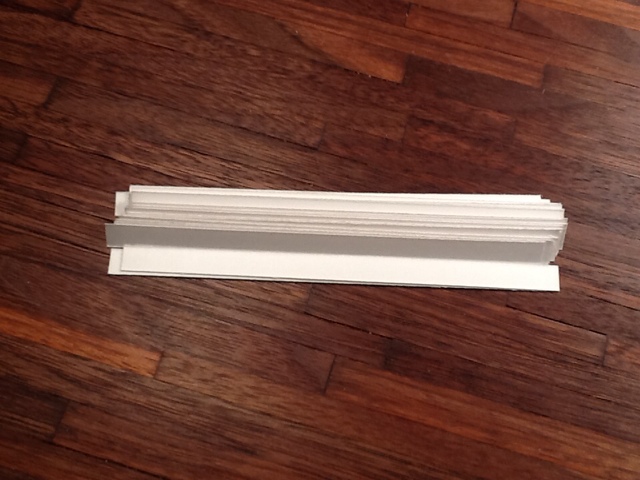
A pile of nicely curved slats.

The slats were then placed into a comb teeth jig for stringing.

Long threads stretched and pinned for blind support and direction.

Threads wrapped around the board tightly for the slat supports.

Waxed paper slid beneath the threads and small drops of yellow glue applied to the joins.

Individual ladders cut out. I cut the threads on one of the ladders, so will go with the outer ladders and only use a lift cord in the middle.

Wax paper removed and other ladder ready for trimming.

Ladders placed onto the slats with the supports on the underside of the slats.

Treading the lift cords through the center holes. There will be three lift cords.

Lift cords threaded, alternating inside and outside of the slat supports.

Blind slats and cords joined.

Wooden top piece routed and drilled. 5 hole end is where the slat open and closing cords will emerge. The three elevation cords will come out the single hole in the 4 hole end. For weight I drilled lift holes in a piece of 1/4" brass, deburred the holes, and turned grooves for the slat function cords to ride in.

Tomorrow I am going to see about forming an aluminum top channel that is a little narrower than the wooden one. The brass bottom piece and whichever top piece will be painted white before final assembly. I need to turn three pull knobs for the cords, one for the three blind lift cords, and two for the blind operating cords.
This may all turn out to be merely a lesson learning prototype that will lead to narrower slats. I will need to make a second set for the other window in the mission den anyhow. I might try tiny dots of superglue at the cord joins instead of the yellow glue I used for this one.
23 June update -
I had a suggestion to try lace for ladders and will go lace shopping tomorrow. Today I acted on another suggestion and using my trusty old Exacto stripper cut a bunch of 1/64" paper backed veneer which then were cut to the same length as the white ones previously.
First up was a fine grain spruce which might look good in small pieces veneered to a toolbox, but which were disappointing at this size. It did not match the interior of the roombox at all and was glaringly wrong. Put em away for another projext.


Never being quite done once I get to cutting stuff I took some white wood veneer, holly or maple I think and cut some thinner mini blind stock, shown here with a "2 inch" mahogany slat.

Again, for another time, another project.
I am going to attack the aluminum upper cord box tomorrow if I have time.
Stay tuned...