Started photo process late into build. Here the drawer sides are fitted to the drawer guides in the side rails of the drawer box. Spruce is used for the drawer bottom.


Completed drawer minus front showing the rabbet joinery.

Gluing the center drawer support. The notch is for the drawer stop clearance when the drawer is closed.

Upper frame tenoning done, ready for mortising.


Measuring for through tenons for bottom rails.

Through tenons done. Next is to add te 1/16" square spacer strips between the drawer frame and the side rails, and mortise for through tenons for an as yet to be cut center rail piece.

14 mortises later, side frames assembled with spacer strips on rails.

Frame assembly..

Drawer stop visible, clears the underside of the top.

Drawer stop in closed position.

Top boards joined and tenoned for breadboard ends which have been grooved.

Gluing top.

Dry fit of top. Drawer front has been cut and attached.

Final glue up of table.

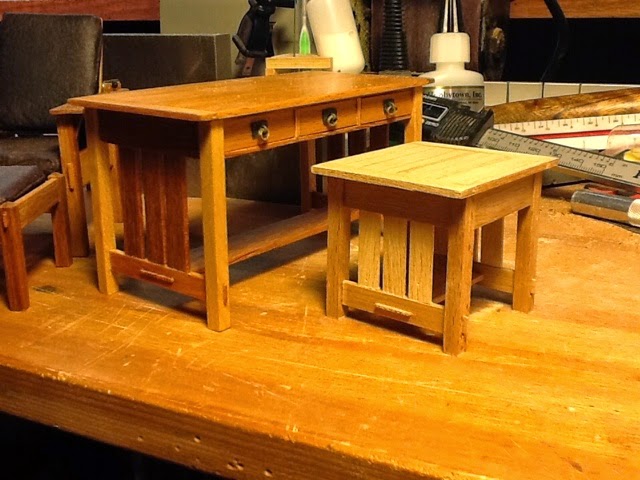
I altered the front of the drawer adding a lower frame member across the bottom of the shallower drawer front to more closely match the library table, fabricated pull and plate and voila! Ready for sand and oil!

Sanded top to 3000 grit, rest to 600 or so, boiled linseed oil finish applied to all but drawer body and I can now call this project complete. It will get some carnuba wax in the coming week, but now it is time to turn to the table lamp this table was made for.


Stay tuned, it is gonna be purty.
No comments:
Post a Comment